
What is a weather forecast widget?
The weather widget in CMS 4media displays weather forecasts for a specified location, with the option to specify the country and city.
It can be added to any template in the visualizations of the website (Page builder module).
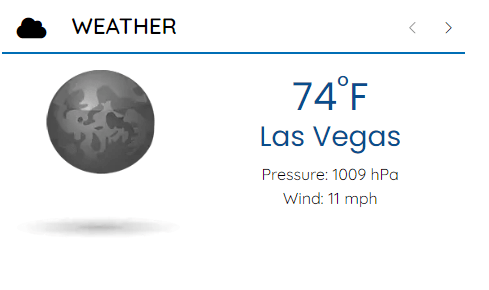
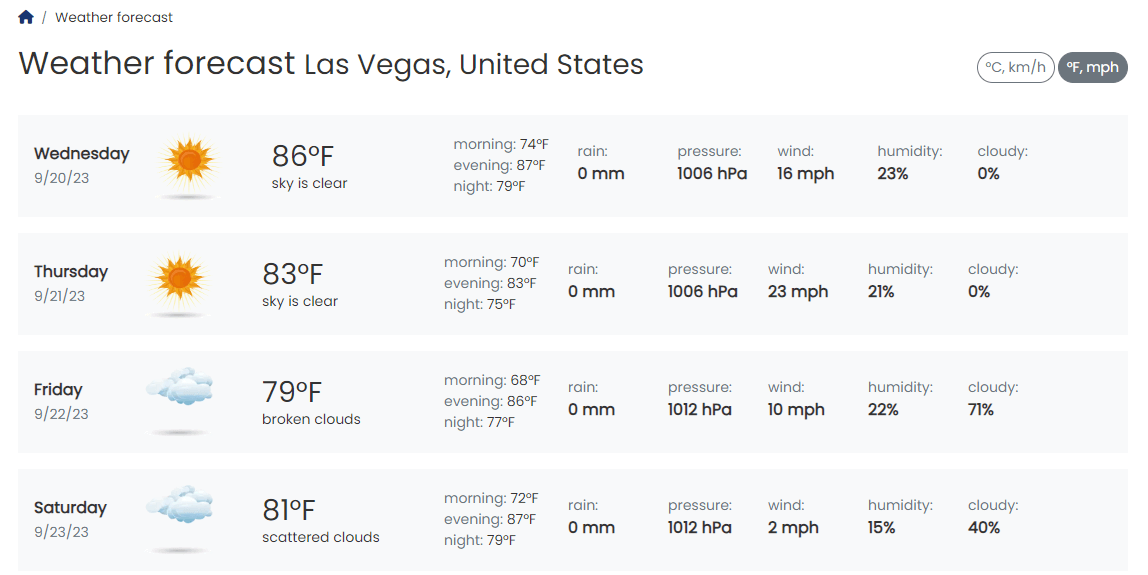
Upon clicking the widget, the user is redirected to a dedicated subpage displaying the weather forecast for the upcoming days.
How to add a weather widget to a website in CMS 4media?
In CMS 4media, you can add a weather widget to any template in the Page builder module. Just go to Page builder, choose a template and add a weather widget by clicking on "Add item" button.
Find more information in the guide: Adding a New Widget.
Editing widget settings
- Languages - choose for which language versions the widget should be displayed on the website.
- Widget design - enables personalization of the widget's appearance. You can learn more about this topic from the dedicated guide: Widget design.
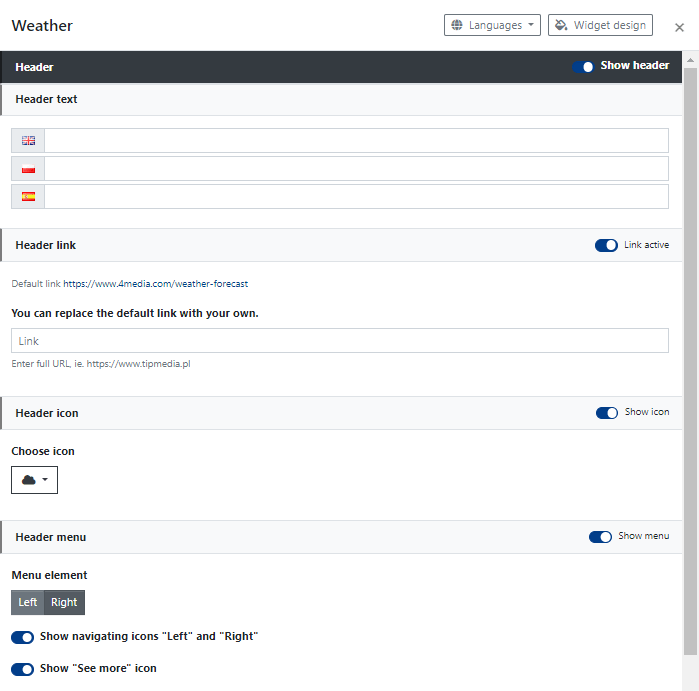
- Header - allows you to change the widget's name (field: Header Text) and enable/disable the header's visibility for portal users (slider "Show Header").
- Header Link - by default, a link to a subpage of your portal is set, where users can check the weather forecast for the upcoming days. You can always paste a link to a weather forecast from another service (but why lead users away from your portal?). The header link is active when header visibility is enabled.
- Header Icon - you can enable/disable displaying an icon in the widget or change the default icon to another one available in the icon library.
- Header Menu - you can enable/disable displaying a menu in the header (slider "Show Menu") and decide on the menu's position - left or right side. Additionally, you can control the visibility of control icons and the "See More" ("Zobacz więcej") icon that redirects users to a subpage with the weather forecast on your portal.
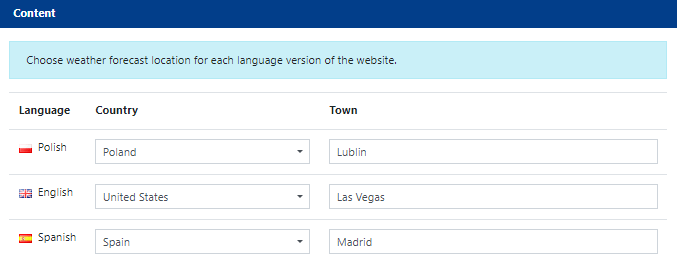
Content - in this section you can enter the location for which the weather forecast should be displayed. If you have multilingual functionality enabled on your portal, you can enter a different location for each language version.
To save the changes made, click the "Apply" button in the lower right corner.
Remember to save the changes for the entire page visualization template where you are adding the weather widget. Otherwise, the introduced changes will not be saved.
General Weather Settings in CMS 4media
You can find the general weather settings within the module Settings -> General.
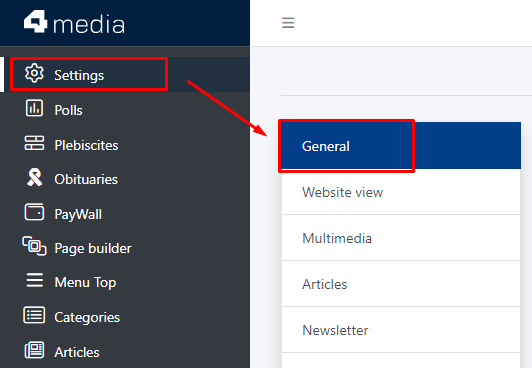
After logging in to the administrator account, click on the "Settings" option in the main menu.
General website settings will appear. Scroll down until you find the section titled "Map and Weather Forecast Settings."
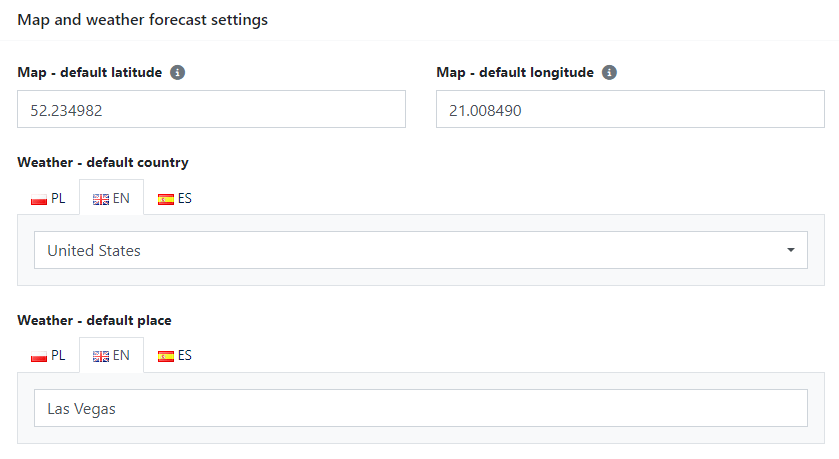
In the "Weather - default country" field, enter "United States" or another country depending on the location your website represents.
In the "Weather - default city" field, enter the city or town where your website operates.
Now scroll down and click the “Save” button to apply changes.
That’s it. Done!
Note: The location settings in the weather widget take precedence over the general settings. In practice, this means that if you entered "Las Vegas" as the location in the weather widget added to a specific template in the Page builder module and "Chicago" is entered in the website's general weather settings, the widget will display weather information for Las Vegas, not Chicago.


")
