
The Photo Galleries widget in CMS 4media is used to display photos that have been added in the Photo Galleries module. The content can be displayed in two ways:
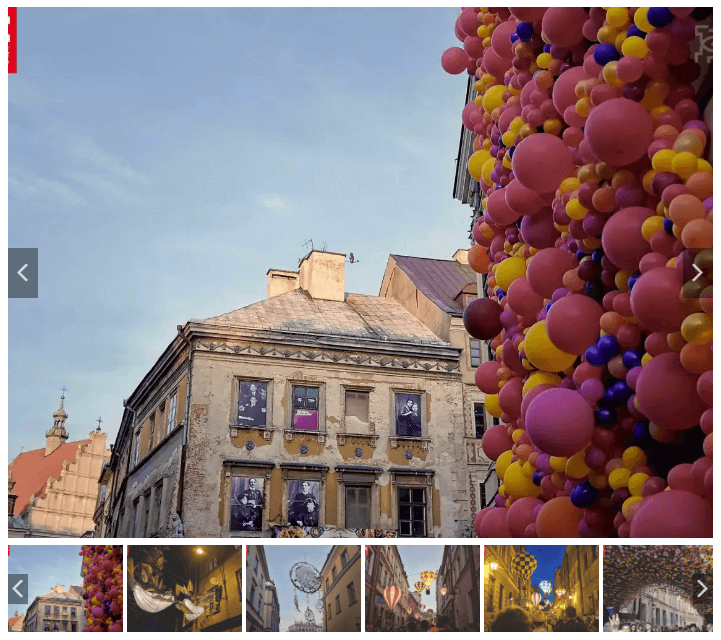
- Single Gallery: The widget displays photos from one selected gallery, which can automatically scroll as a slideshow.
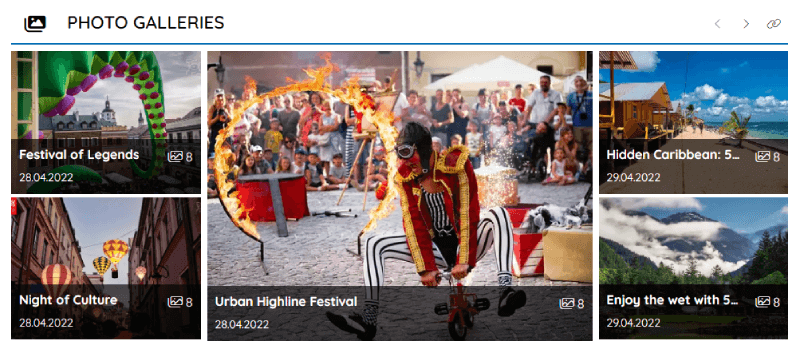
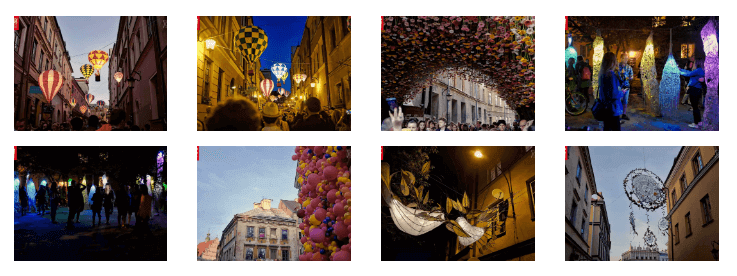
- Multiple Galleries: The widget shows several galleries without displaying their full content (only the main gallery photo and title are visible).
.
The widget can display galleries that have the "Active" status, indicated by a green dot on the list of added galleries.
Adding the Widget to the Template in Page Builder
To add the widget, log in to the CMS 4media administrator dashboard, then go to "Page builder" in the main menu. A list of templates will appear. Select the template to which you want to add the widget and click the "+ Add Item" button where you want the widget to be displayed. The widget library will open, from which you can choose "Photo Galleries."
See the step-by-step instructions on how to add a widget to a page template in CMS 4media.
Configuring the Photo Galleries Widget
Like almost every widget in CMS 4media, the Photo Galleries widget consists of two sections: header settings and content settings. In the header section, you can specify what should appear on the top bar of the widget, and in the content section, you can determine what and how should be displayed in the widget.
Header Settings
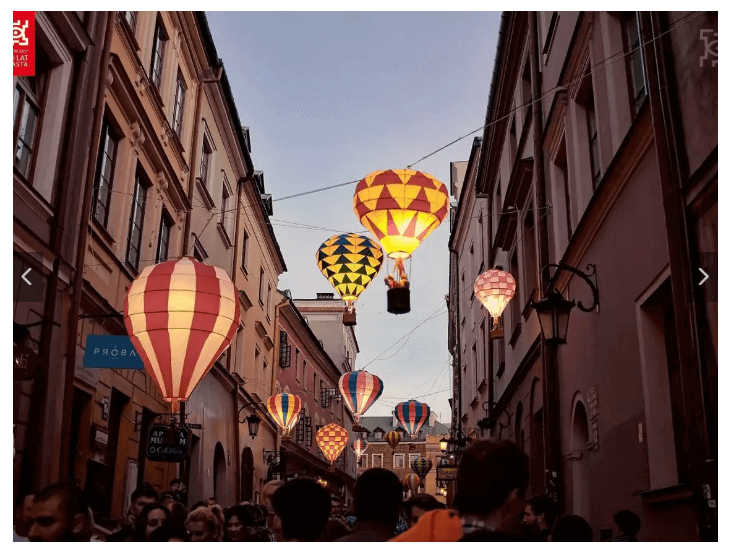
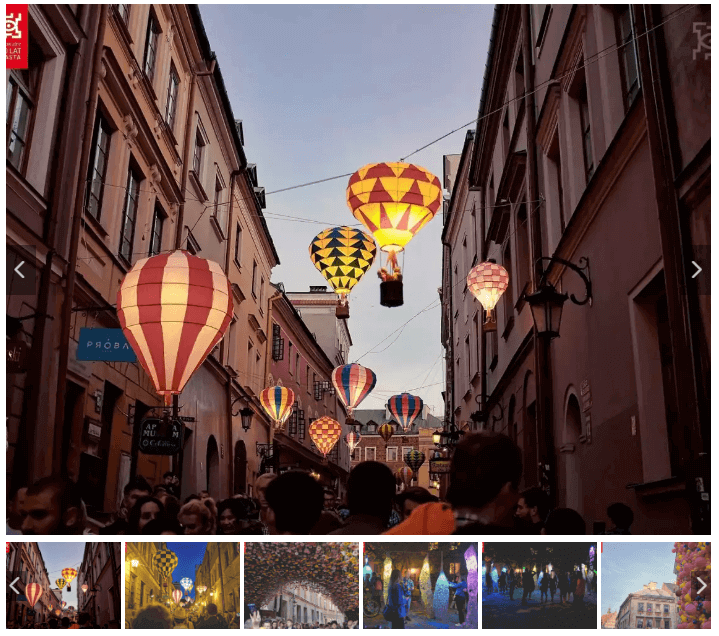
In the Header section, you can decide whether additional information in the form of text, a link, and control icons for scrolling content should be displayed above the widget (see Figure 1). You can also choose to disable the header's visibility in the widget by sliding the "Show Header" switch. In this case, the widget will only display the content itself (see Figure 2).

The Header section allows you to define the following fields:
- Header Text: A short text displayed on the top bar, e.g., "Latest Galleries." It can function as a link.
- Header Link: By default, set to redirect to a subpage with the address path /photo-galleries, which is the page where CMS 4media displays all active photo galleries added within the website. You can paste another link, and then clicking on the header text or icon will redirect the user to the URL you specified in this field.
- Header Icon: Displayed before the header text. You can choose from many icons built into the CMS 4media icon library.
- Header Menu: Allows you to set the menu position in the widget's header to the left or right side, enable scroll control arrows ( "Left" and "Right" icons), and enable the "See More" icon (acts as a link to /photo-galleries).
Content Settings for "Show One Gallery Only"
You can configure content settings in two ways using the "Show Only One Gallery" switch.
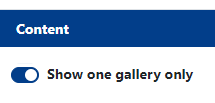
If you select it, different gallery content settings will appear, and you will be able to set it as a slideshow.
Start by selecting a gallery from the list. Then you can specify the remaining settings:
Display Mode: In the dropdown list, there are three ways to display gallery photos:
- slideshow without thumbnails:
- slideshow with thumbnails (visible under the main photo):
- grid:
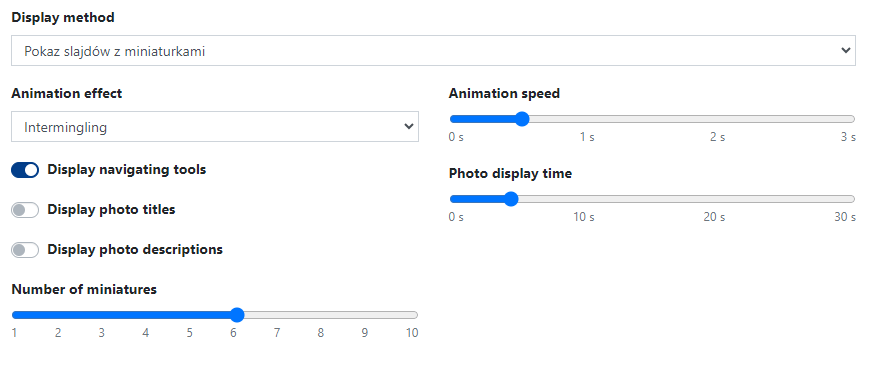
For the slideshow, you can additionally set the following options:
- Animation Effect: Determines the transition (animation) between displaying one photo and another. You can choose between a fade effect or a slide effect.
- Display Navigating Tools: If the switch is active, the widget will display left/right arrows to scroll the content.
- Display Photo Titles: If the photos in the gallery have titles and you activate this switch, photo titles will be displayed on a special text bar at the bottom of the photo.
- Display Photo Descriptions: If the photos in the gallery have descriptions and you activate this switch, photo descriptions will be displayed on a special text bar at the bottom of the photo.
- Number of Miniatures: This option is available only for slideshow with thumbnails. It specifies the number of displayed thumbnails.
- Animation Speed: Specifies the duration of the animation effect in seconds.
- Photo Display Time: Specifies the time in seconds that a photo will remain stationary before displaying the next one.
For displaying a single gallery in a grid format, the settings are different from the ones mentioned above.

Here, you can set:
- Number of Photos in line (row): The number of photos displayed in a single row (line). The maximum number is 12.
- Maximum Number of Photos: Specifies the maximum number of photos displayed in the widget. There is no upper limit, but it's better not to overdo it with the quantity ;)
Content Settings for Displaying Multiple Galleries
You will see different content settings when you leave the "Show One Gallery Only" switch inactive.
With these options, you can configure:
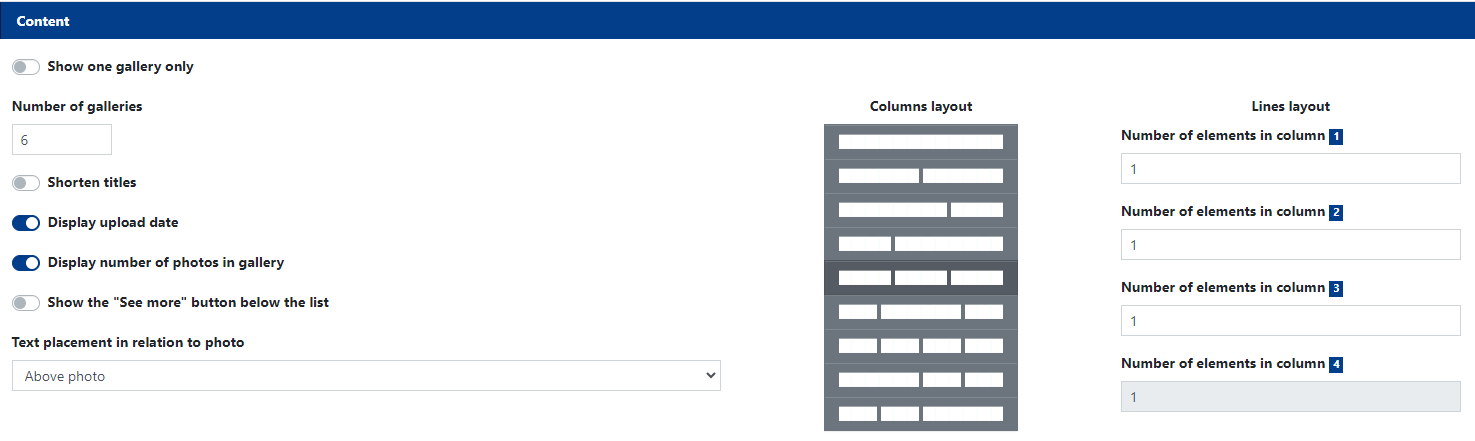
- Number of Galleries: Max. 30; determines how many galleries will be displayed in the widget.
- Shorten Titles: If you activate this switch, you can decide the length of displayed titles. They can be shortened to 1, 2, 3, or 4 lines.
- Display Upload Date: If the switch is active, the upload date of each gallery will be displayed on its bar.
- Display Number of Photos in Gallery: The number of photos in the gallery will be displayed on the bar next to the title and description.
- Show "See More" Button Below the List: With this switch, you can enable the "See More" button at the bottom of the widget. The button acts as a link that redirects to the page with all active galleries (/photo-galleries).
- Text Placement in Relation to Photo: From this dropdown list, you can decide where the text should be displayed in relation to the photo. Among the available options are: beside photo on the left, beside photo on the right, above the photo, below the photo, and above the photo (on a semi-transparent bar at the bottom of the photo).
Additionally, you can decide about the layout of displayed galleries through column and row settings. This way, you can, for example, set one gallery to display in one column.
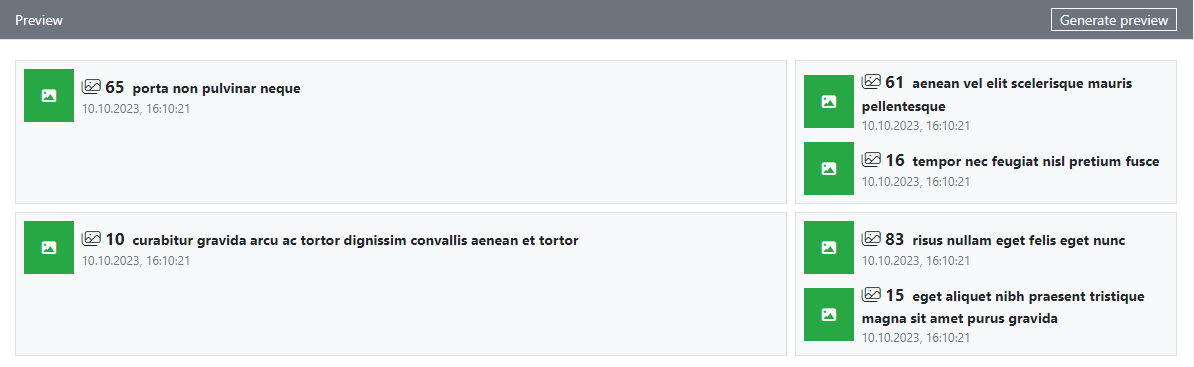
For a better understanding of the values entered in the column and row settings, a preview of the elements is generated at the bottom of the widget configuration window. It's a good idea to spend some time checking different combinations before saving and applying them "live."
Hint: To achieve a satisfying visual effect, input different values and check the preview. Pay special attention to the numbers you enter in the "Number of Galleries" and "Number of Items" fields for each column.


")
