File Browser Guide
The File Library allows you to create a tree of catalogs and subcatalogs and store any number of files within them.
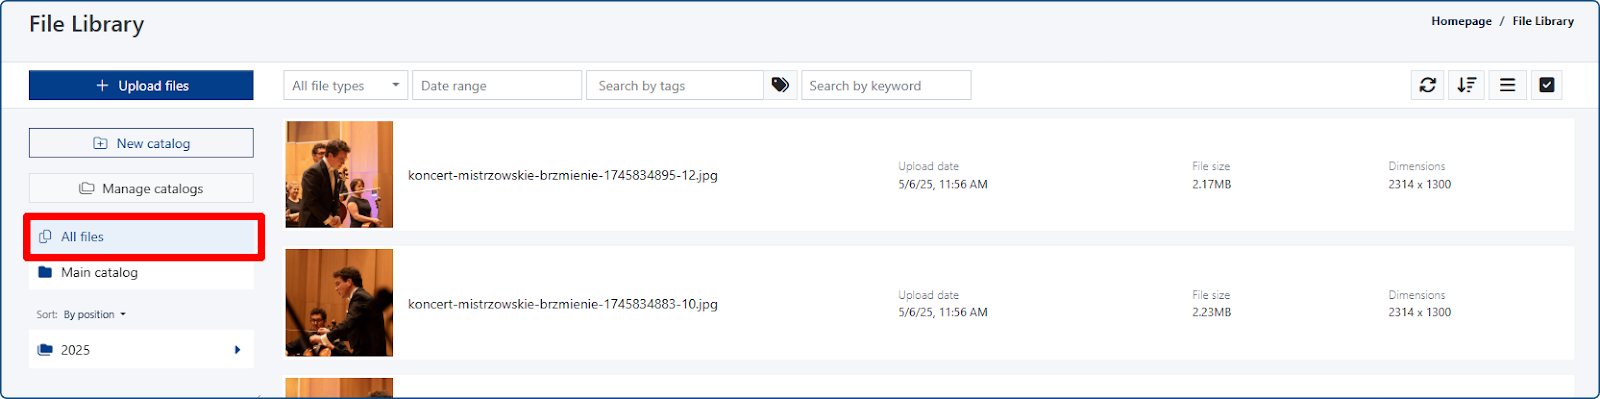
Managing the File Library
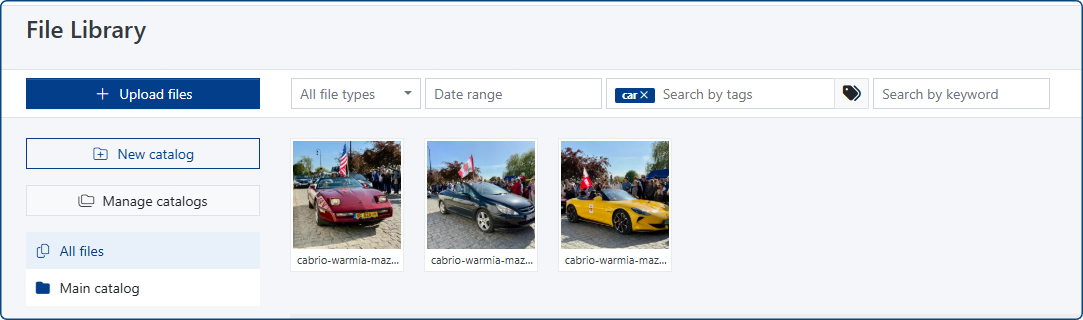
When you access the module, the system defaults to displaying the content of the All Files tab. Files are listed chronologically, so newly added files will appear at the top of the list.
Filtering Files in the List
You can filter files based on:
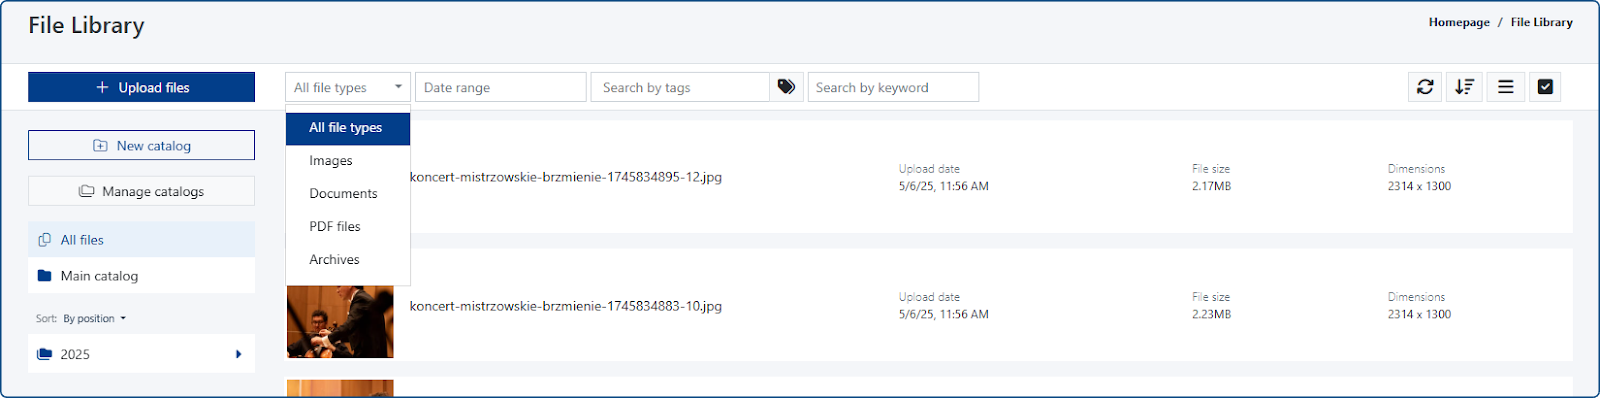
1. File Type
- a. All file types
- b. Graphics (gif, png, jpeg, jpg, svg, webp, tif, tiff)
- c. Documents (doc, docx, ods, odt, rtf, pdf, ppt, pptx, txt, xls, xlsx, csv, json)
- d. PDF
- e. Archives (zip, rar, 7z)
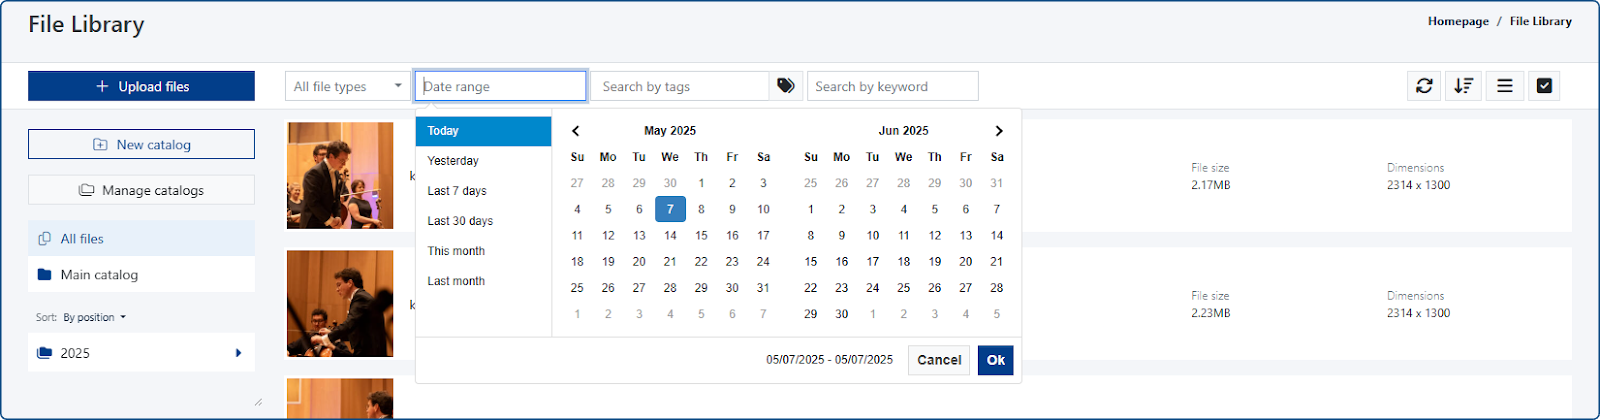
2. Date Range
- Allows you to find files added to the library within a specified time frame.
3.Tags
- Allows you to find files assigned to a specific tag within the file library.
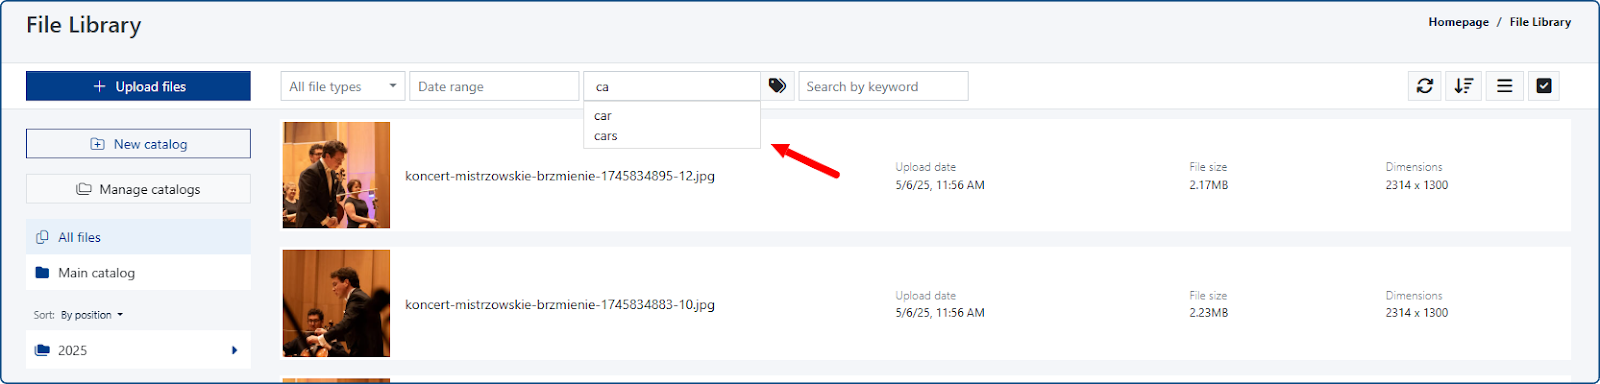
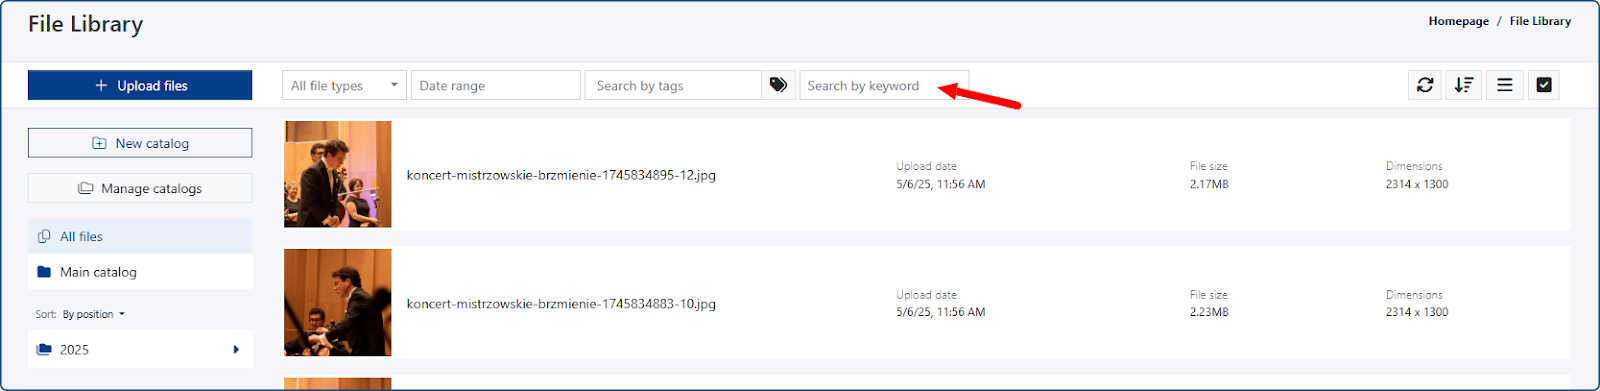
4. Keyword
- Searches for keywords in the following fields: title, alternative text, description, author.
Function Buttons
In the upper right corner of the File Library window, you'll find function buttons that allow you to:
- Refresh the file list.

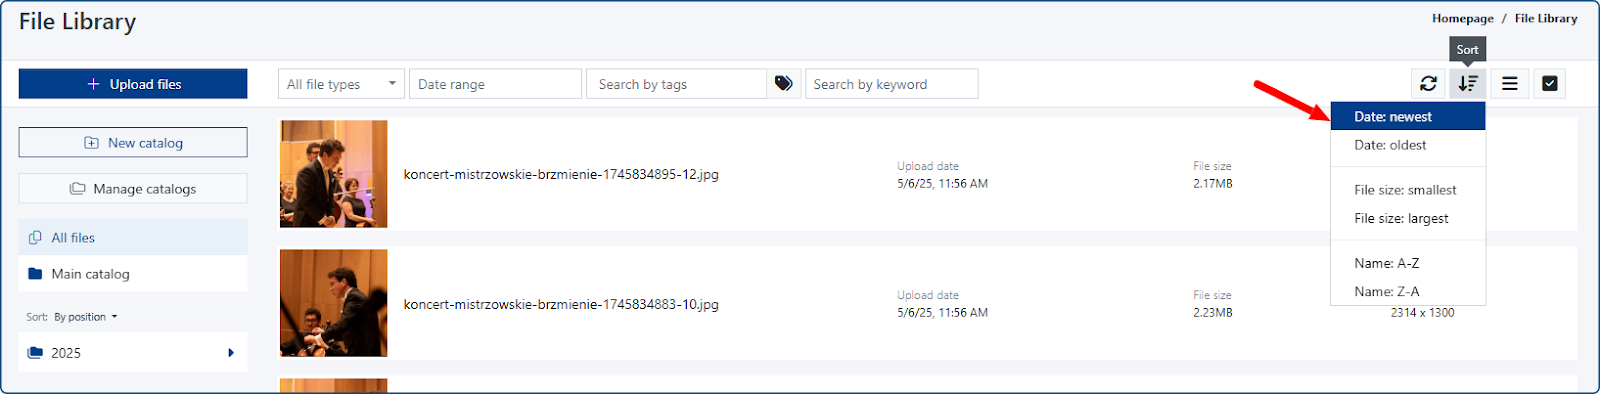
- Sort the files.
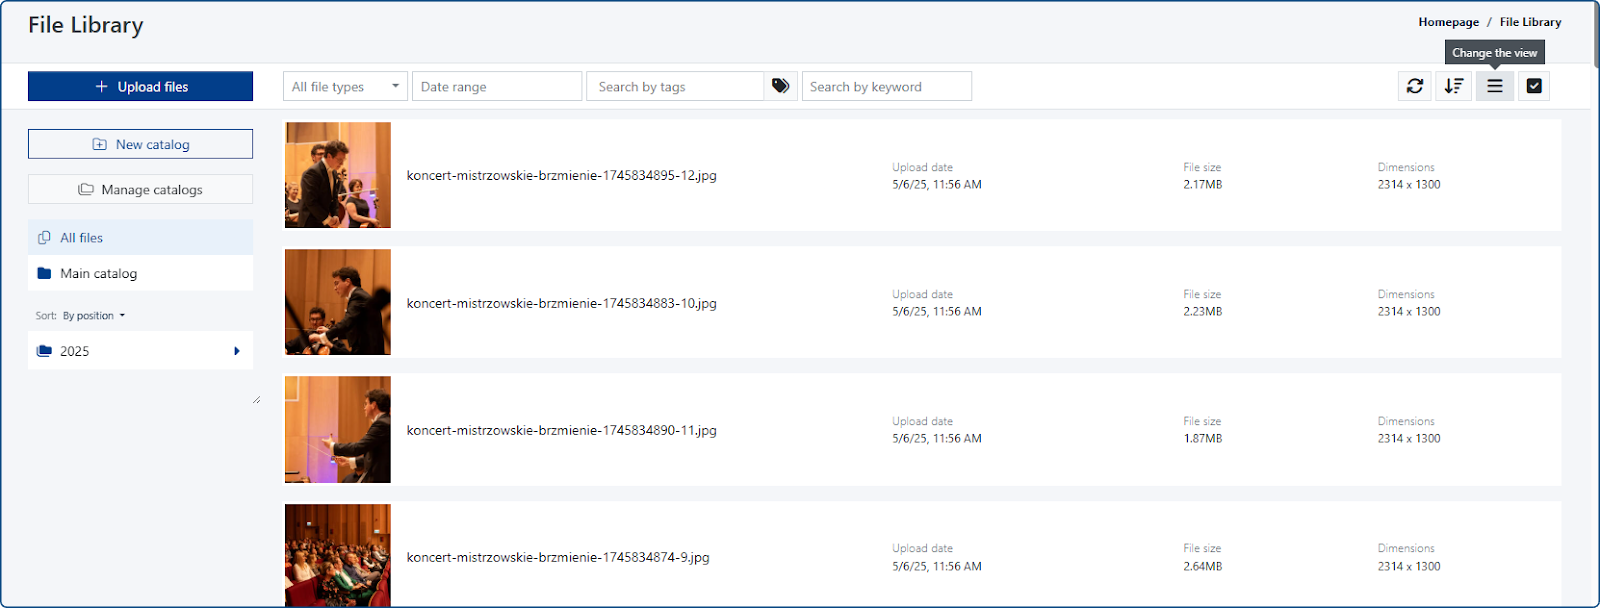
- Change the view: list or tiles.
- Tile layout view: [Description of what the tile layout looks like goes here - not in the original document]

- List view: [Description of what the list layout looks like goes here - not in the original document]
- Select multiple items.
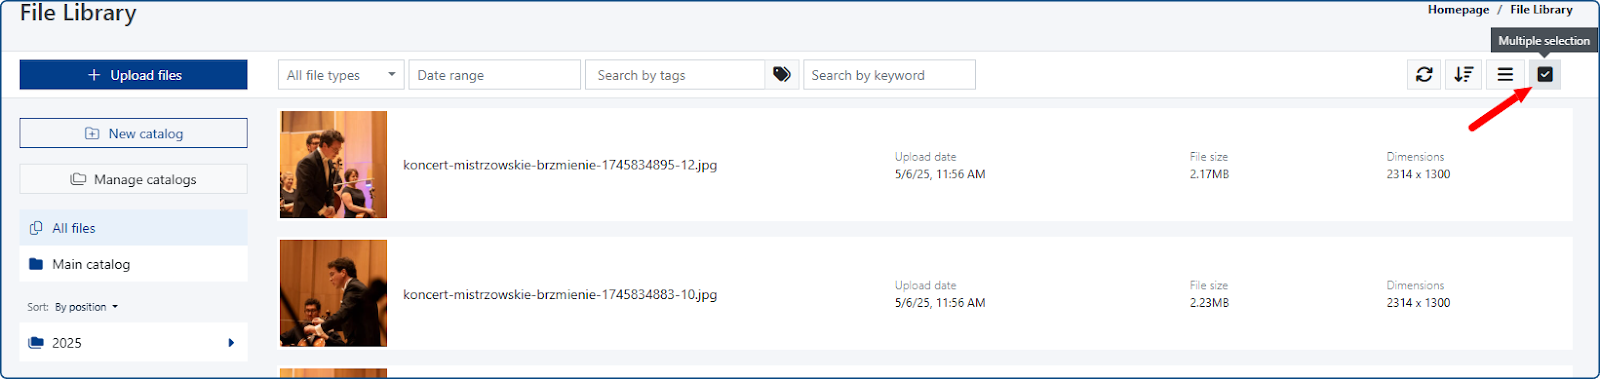
- Clicking this button allows you to select any number of files.
- Clicking the gray Select button will select all files available in the list.

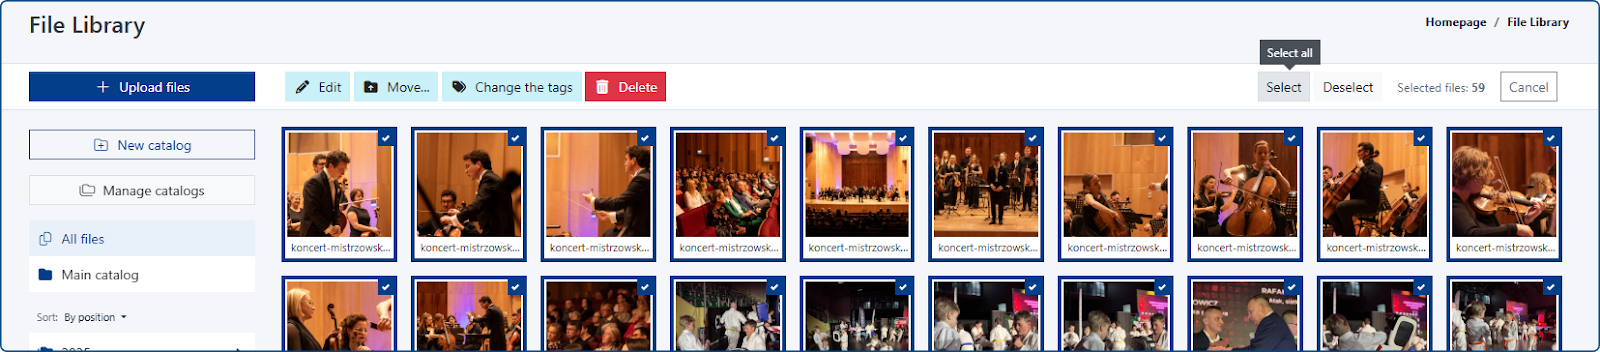
- To select individual files from the list, simply click in the upper right corner of the file.

After selecting files, you can perform additional actions:
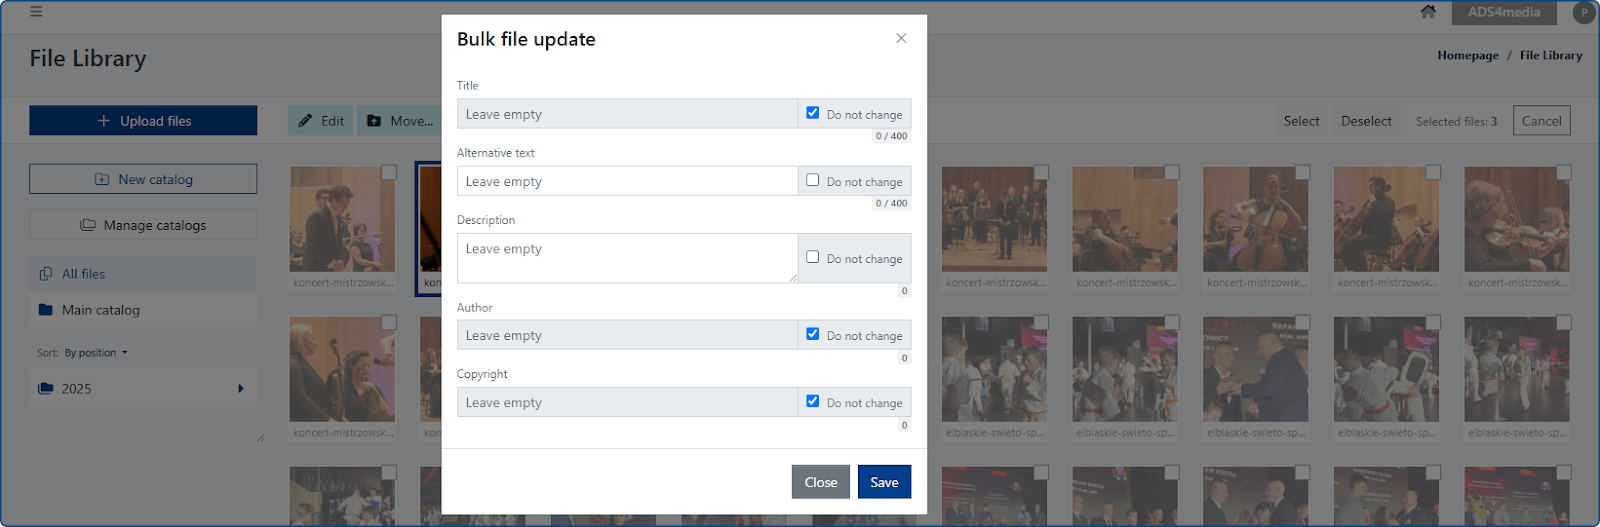
- Edit - This button allows you to edit the data of one or more selected files. You decide which elements to edit and which to leave unchanged.
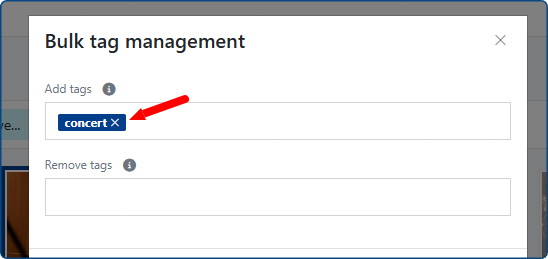
- Change Tags - The function allows you to add or remove a tag for one or more selected files in the list. In the pop-up window, enter the tag you want to add (press Enter after typing) and save the changes by clicking the blue Save and Close button.
- Move - Files uploaded to the Library can be moved multiple times from catalog to catalog. The source link to the file will not change.
How to move one or multiple files?.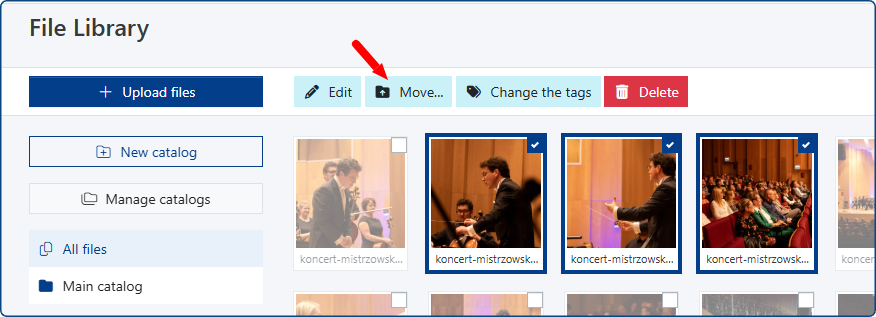
In the pop-up window, you will see a preview of the files selected for moving and you can choose the catalog to which you want to move the files from the list.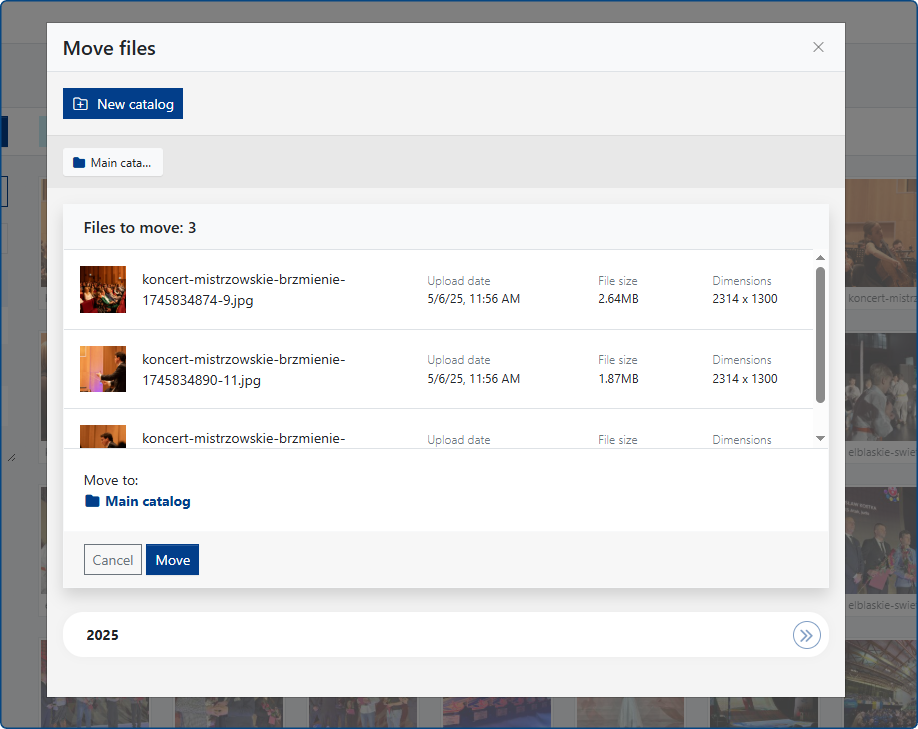
The system will default to moving the files to the Root catalog. To do this, click the blue Move button.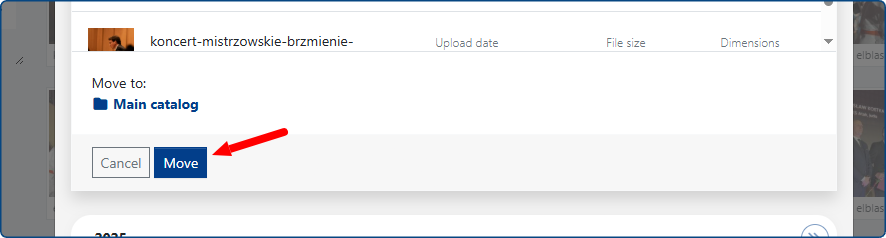
To move the files to another location, select the destination catalog from the list available at the bottom of the pop-up window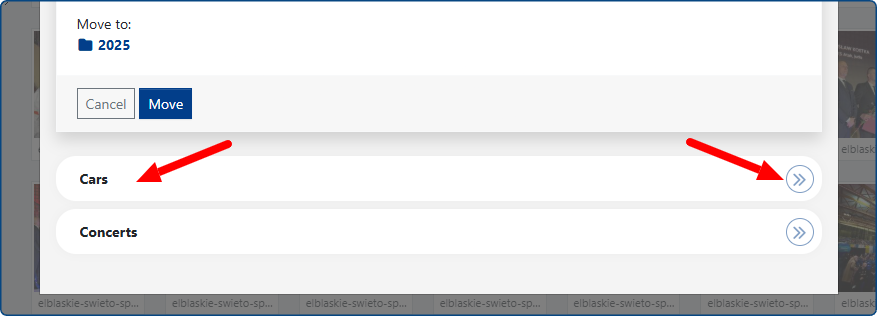
Clicking the circular >> icon will immediately move the files to the new location.
Clicking the name of the selected catalog will reload the contents of the pop-up window. To confirm the file move, click the blue Move button, or the gray Cancel button to cancel the action.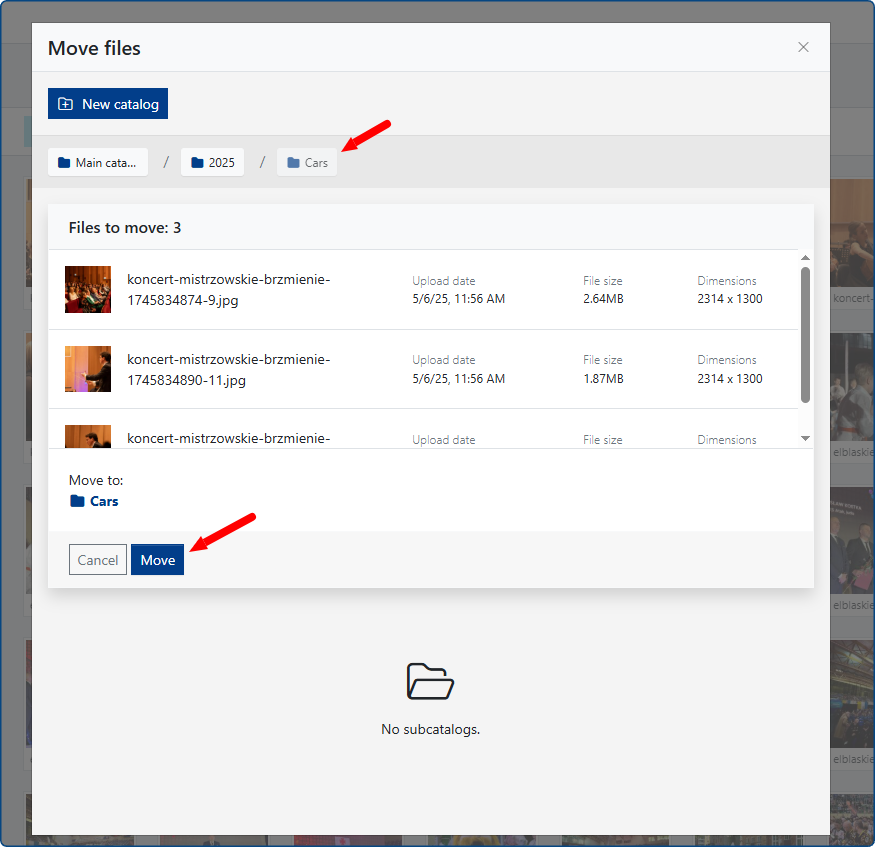
- Delete - After selecting the desired files, click the red Delete button. The file library does not have a Trash function, so deleting files will permanently remove them from the CMS system.

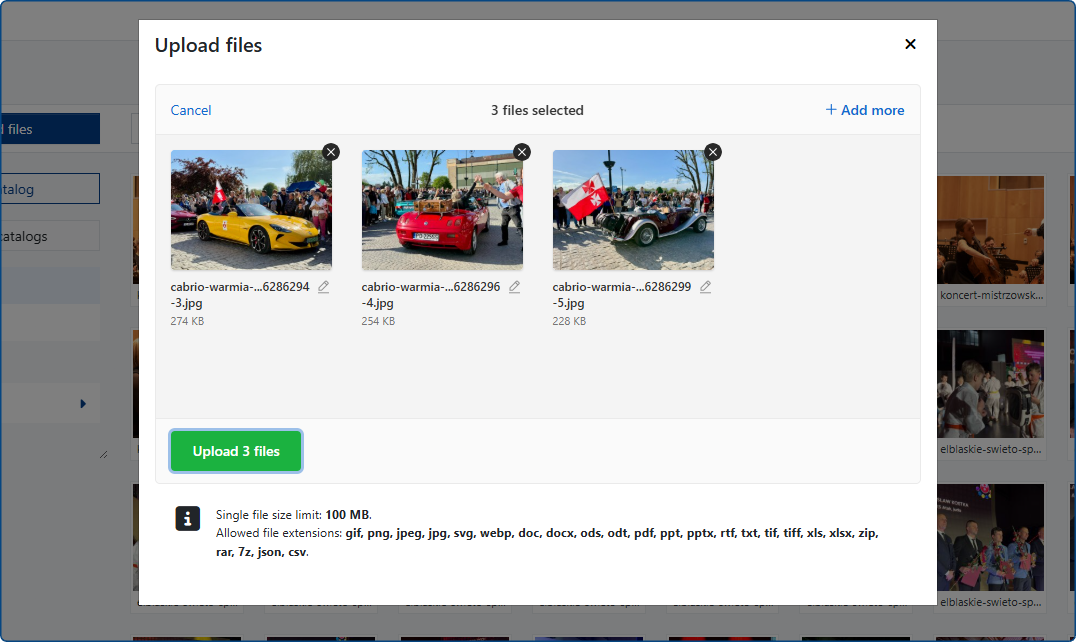
Uploading a File to the Library
- Single file size limit: 100 MB.
- Allowed file extensions: gif, png, jpeg, jpg, svg, webp, doc, docx, ods, odt, pdf, ppt, pptx, rtf, txt, tif, tiff, xls, xlsx, zip, rar, 7z, json, csv.
- Multiple file upload: Available.
Managing tags in the file library
The file library allows you to create a group of internal tags, which (if used consistently) will make it easier to search for files in the library. In other words, tags allow you to categorize files, such as images that are frequently used in situations like: accident, holidays, alert, vacation, etc.
To create tags in the file library, click the Manage Tags button.
A pop-up window will open, allowing you to create a new tag. If you want to add more than one tag to the system, separate them with a comma, semicolon, or space, and then click the Add button. The newly created tags will be available at the bottom of the tag list.
The Manage Tags window allows you to verify how many files actually belong to a specific thematic category (tag). By clicking the Show button, you will see a list of files associated with that tag.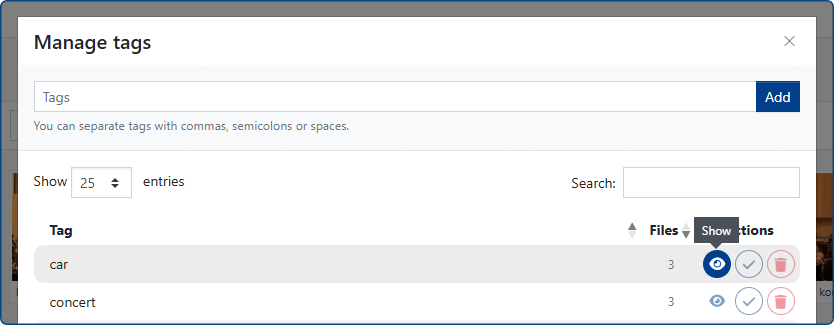
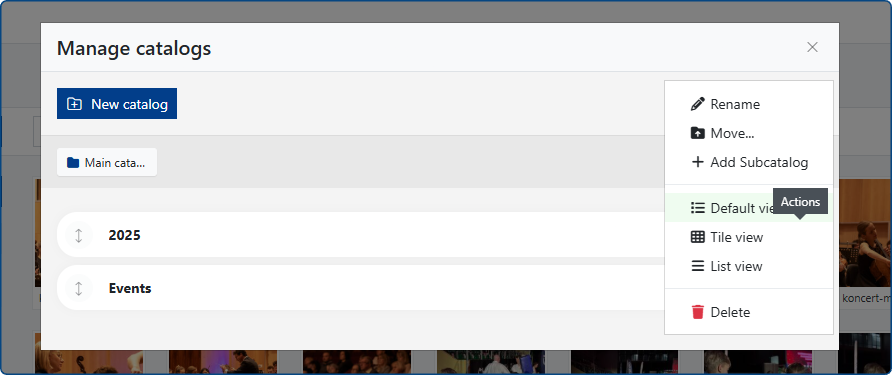
Managing catalogs in the File Library
Clicking the Manage Catalogs button opens a pop-up window that allows you to:
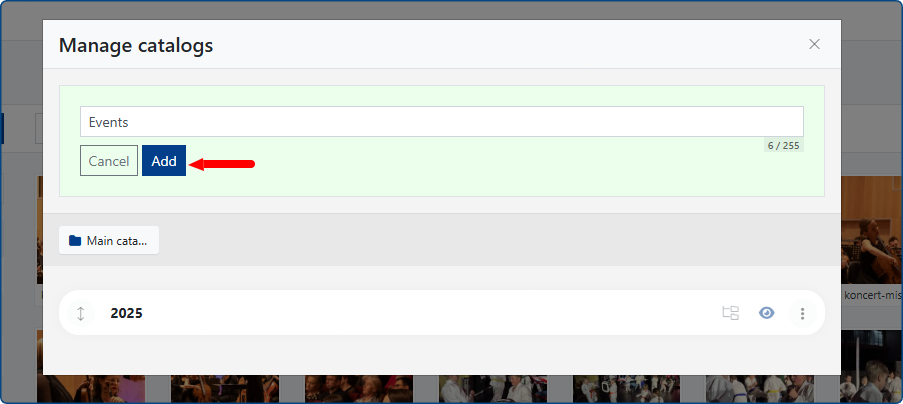
- Create a new catalog
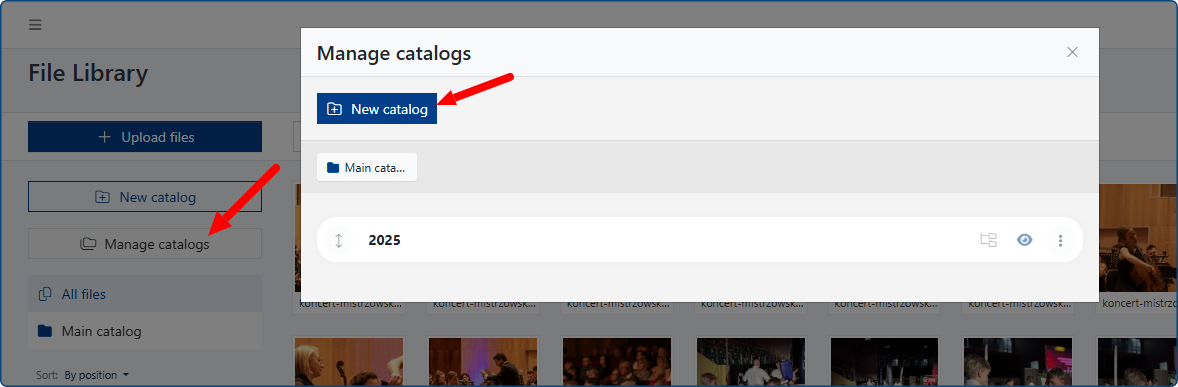
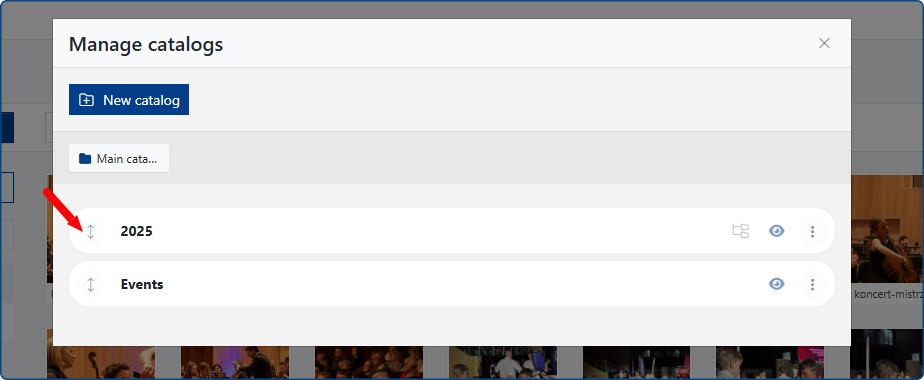
Enter the catalog name and save the changes by clicking the blue Add button. The new catalog will appear at the bottom of the catalog list.
- Organizing catalogs in any order
Use the drag & drop function to move catalogs up and down the list, arranging them in the desired order.
- Creating a subcatalog
- Changing the default file list view for a catalog (list or tile layout)
- Deleting a catalog – IMPORTANT! Deleting a catalog will not remove the files from the CMS database.