
You can use the Text Widget, for example, to insert a descriptive part of your website somewhere on the homepage. You can provide users with some information about what you do and what they can learn.
Here's how we do it on the 4media.com homepage:

And this is how a news website like ExpressElblag.pl uses it:
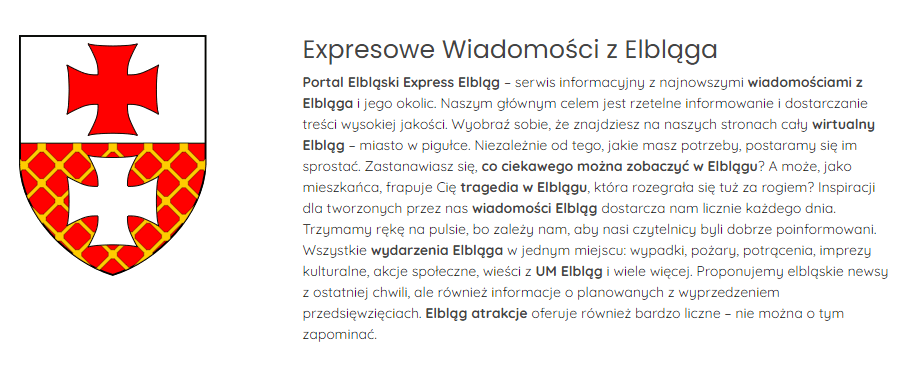
This way, you can not only showcase what you do but also use the text to improve the SEO (search engine optimization) of the homepage by incorporating important keywords into the text.
Adding the Widget
You can add the Text Widget to any page template in CMS 4media. It can also be used multiple times within the same template.
Here's a brief guide on adding the widget:
- Log in to the administrator panel in CMS 4media.
- Select the Page builder (Visualization) module in the main menu.
- Choose the template to which you want to add the widget and click the "Edit" button.
- In the place where you want to add the widget, click the "+Add item" button. You can later change its position using the "drag and drop" method.
- After clicking the "+Add item" button, the CMS 4media widget library window will open. Find the Text Widget and click on it to go to the content configuration.
Watch the instructional video: Adding a Widget.
At the top of the widget settings, you'll find the "Widget Design" button. Here, you'll find advanced settings, including the ability to add your own CSS classes, increase or decrease spacing, frames, and even set actions on hover.
Read the detailed guide: Default Widget Designs.
Text Widget Settings
In the widget settings, you'll find header and content sections. The header section determines what will be displayed above the widget's content, while the content section contains a text editor where you can enter and edit your text.
Header
In the header settings, you'll primarily decide whether and what text will be displayed on the header bar above the widget's content. You can completely opt out of displaying the entire header section by clicking the "Show Header" switch or choose and fill in only some fields, leaving unwanted ones inactive.
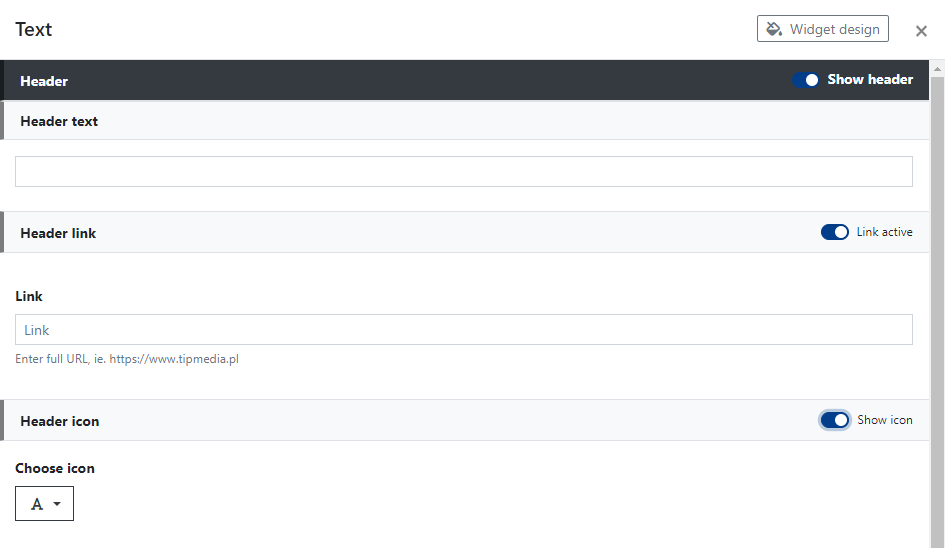
In this part, you can set:
- Header text - the content of the header displayed above the widget's content. It could be, for example, "About Us" or "Who We Are?" etc.
- Header link - by activating this switch, the Header text will act as a link. In the "Link" field, you can paste a link to the page to which you want to redirect users upon clicking.
- Header icon - displayed before the Header text and acts as a link (if Header link is active and filled). You can choose a different icon from the icon library in CMS 4media.
Content
In this part, there is a visual text editor - the same one you use when creating and publishing content in the Articles or Subpages modules.
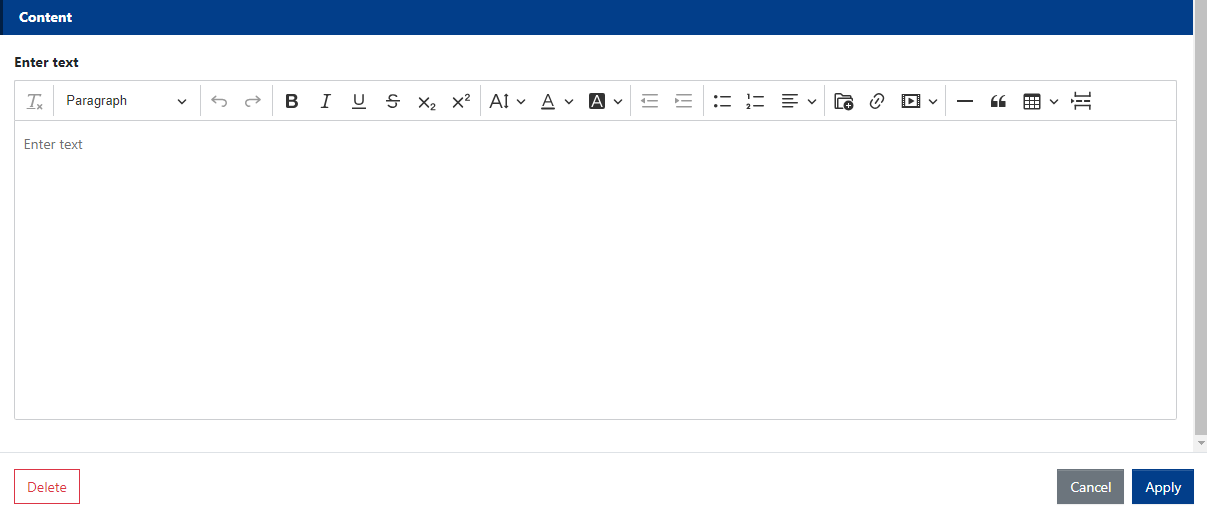
In the editor, all options are available to create short, long, and well-formatted texts.
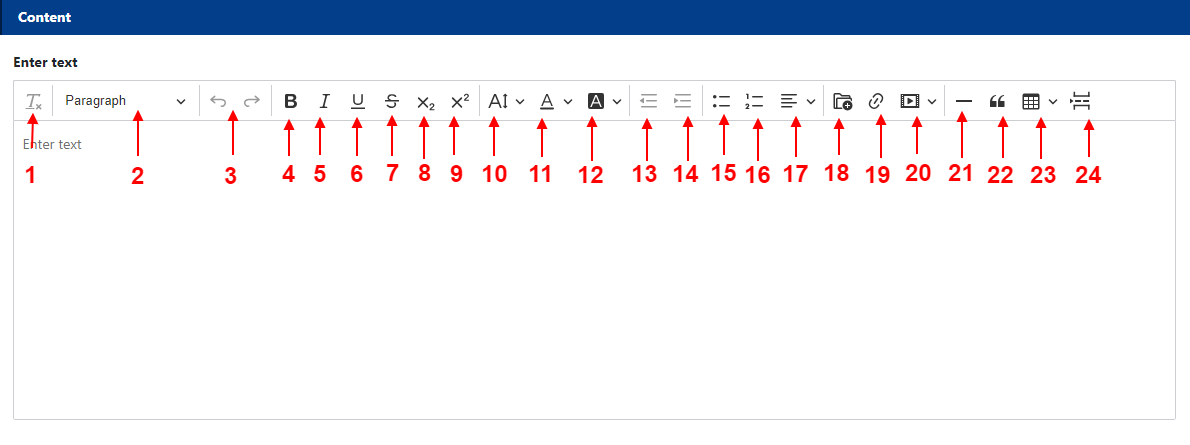
Visual Text Editor Functionalities:
1 - Remove format - useful when pasting text copied from Word, and formatting (e.g., text color) is also copied. If you want to avoid differences in text colors, we recommend always removing formatting after pasting the text and formatting the text directly in the Text Widget's text editor
2 - Paragraph - allows you to choose the type of text style from the dropdown list: paragraph, heading 1, heading 2, etc
3 - Undo / Redo - allows you to undo changes made or return to them (redo)
4 - Bold Text
5 - Italic
6 - Underline
7 - Strikethrough (then the text looks like this)
8 - Subscript
9 - Superscript
10 - Font size - the dropdown list offers options for choosing the font size, from very small to very large
11 - Font color - here you can choose one of the 10 available text colors
12 - Font background color - here you can choose one of the 10 available text background colors (highlight color)
13 - Decrease indent
14 - Increase indent
15 - Insert bulleted list
16 - Insert numbered list
17 - Text alignment - left, center, right, or justified
18 - Insert image or file - when clicked, it opens the File Browser, from which you can choose an image or file or upload your own from your computer
19 - Insert link - allows you to link a text fragment and set actions upon clicking (open in a new tab or the same tab) and choose the link attribute (follow/nofollow)
20 - Insert media - allows you to insert a link to a video from YouTube, which is immediately embedded as a video
21 - Insert horizontal line
22 - Block quote - allows you to change the formatting of the selected text to look like a quote
23 - Insert table - allows you to quickly insert a simple table; just select the number of rows and columns with the cursor to insert the table into the editor
24 - Insert page break
Note! The Text Widget does not include an HTML editor. If you need advanced text features or want to insert a manually designed code snippet on the page, use the Custom HTML Code widget.


")
