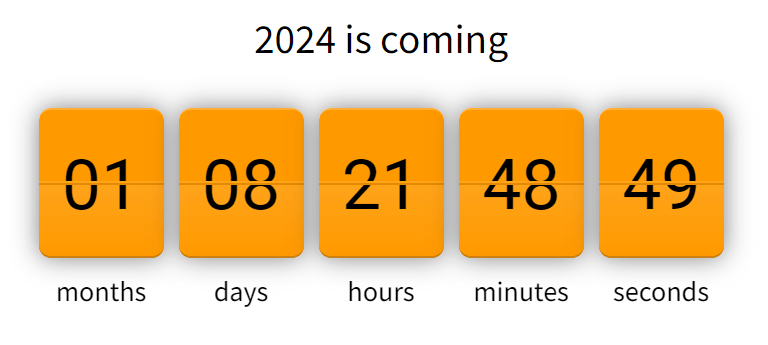
The Countdown Widget in CMS 4media allows you to insert a clock on your news website that counts down to a specified date. You can creatively use it, for example, in the sidebar of your article list, where you can enable a countdown to a specific event, such as New Year Eve. You can also add a survey with several questions under the widget, asking users if the past year was successful for them.
Adding the widget
You can add the Countdown Widget only once to a single page template. If you want to use it again, simply edit its content.
To add the widget, go to the Page Builder module and select the template where you want to place the widget. Click "Edit," then "+Add item" to display the window with the widget library. Choose the Countdown Widget to proceed with its configuration.
Forgot how to add widgets in CMS 4media? Check the video instructions: Adding Widgets.
Countdown Widget Settings
You can configure the widget's appearance with the Header section enabled or disabled, configuring only the Content of the widget.
Header Settings
In the header settings, you can decide whether additional text should be displayed above the Content section of the widget. It will be located on the header bar.
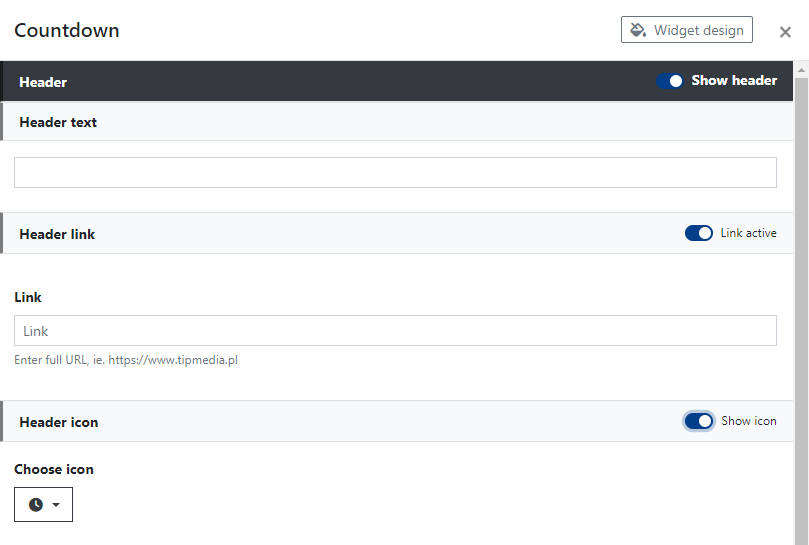
In this part, you can set:
- Header Text: a short text displayed on the header bar above the clock and the text displayed above the clock. You can enter, for example, "Countdown," "Remaining," "Time is running out!" etc. The header text can act as a link if you activate the Header Link.
- Header Link: allows you to link the Header Text. To do this, click on the "Link active" slider and paste your link into the "Link" field.
- Header Icon: displayed before the Header Text. If the Header Link is active, it functions as a link. You can change the appearance of the icon by clicking on the icon library dropdown, "Select Icon."
Content Settings
In this section, you will set the date and additional messages displayed above the clock and after the countdown finishes.
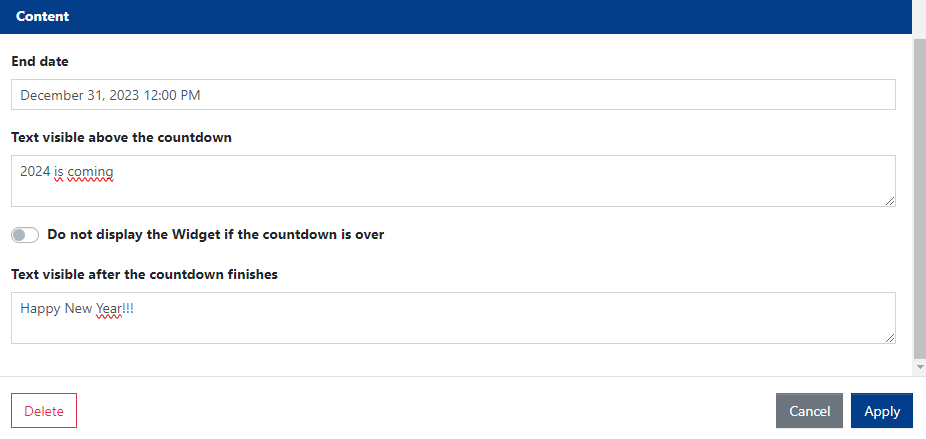
- End date: when you click on this field, a calendar view will appear, allowing you to select the date and time when the countdown will end.
- Text visible above the countdown: text displayed above the clock.
- Do not display the widget if the countdown is over: check this box if you do not want the clock to be visible after the countdown is complete.
- Text visible after the countdown finishes: this field is available if you leave the "Do not display the widget if the countdown is over" slider turned off. Here, you can enter a short text that will be visible to users after the countdown is complete.
If you need advanced clock appearance settings, you can use additional options available by clicking the "Widget Design" button.
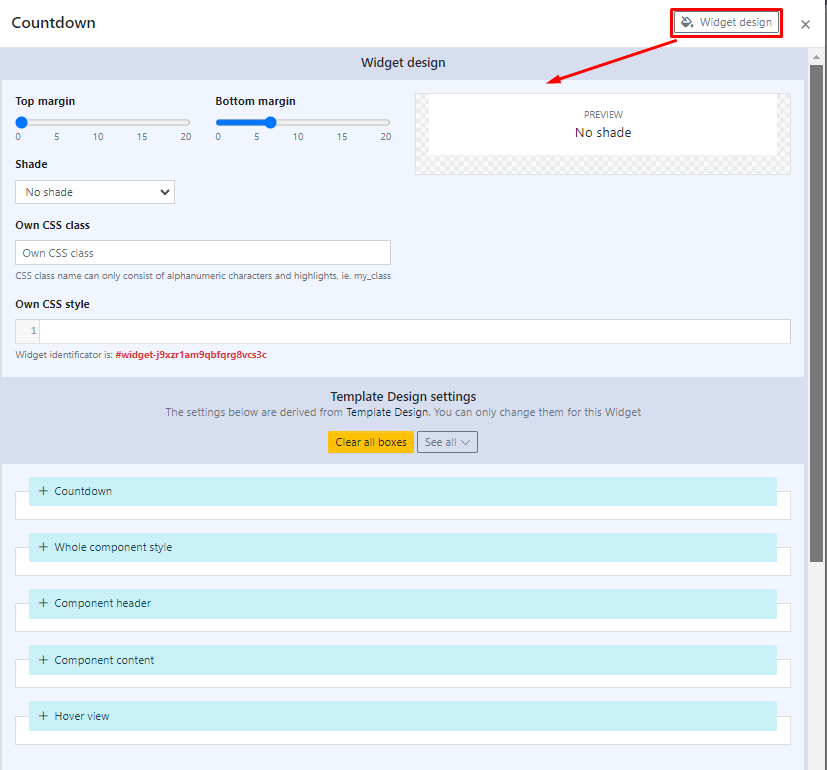
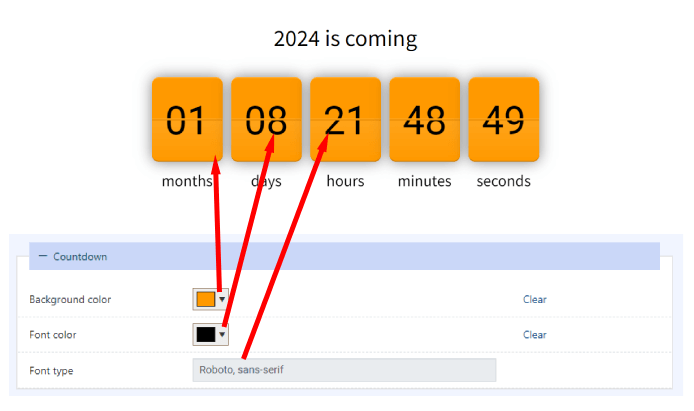
To change the clock's background color, font color, or choose a different font, go to the "Countdown" settings. A section will expand where you can customize the appearance according to your preferences.