
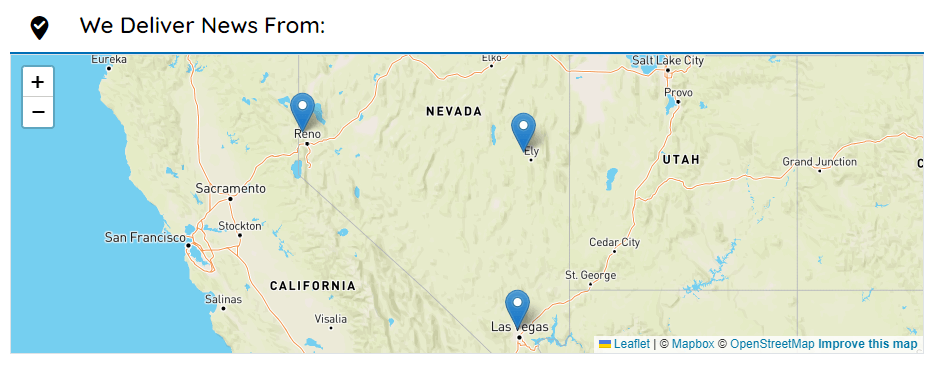
Displaying a map with the marked location of the local news website's editorial office can enhance the accessibility, credibility, and local character of the website. It also makes it easier to interact with readers and the local community.
The Map Widget in CMS 4media can be added, for example, near the contact form (Write to Us widget), helping users contact the editorial office or find your office easily.
You can also use the map to indicate the operational area by setting it to display a larger area and pinning locations you write about.
Adding the Widget
You can add the Map Widget multiple times to the same template. To add the widget, go to the Page Builder (Website Visualisation) module and edit the template where you want the map to be. After clicking the "+ Add Item" button, a window with widget options will appear. Locate the Map Widget to access its settings. You can later change the position of the widget in the template by dragging it to a different location.
Need help with adding widgets? Watch the instructional video: Adding Widgets.
Widget Settings
The widget settings consist of the Header section (which is disabled by default) and the Content section. If you want to enable the display of the Header, click the "Show Header" button to expand the available settings.
Header Settings
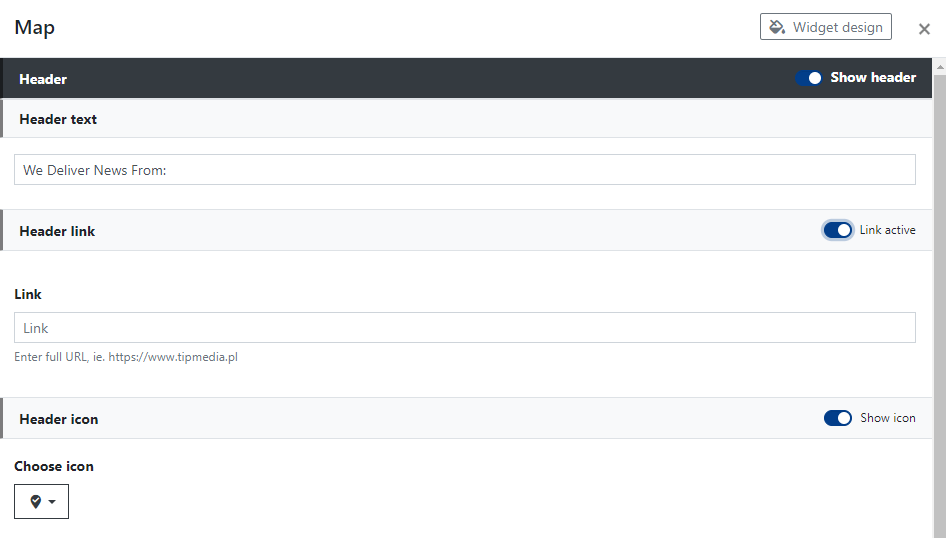
You can set:
- Header text - you can enter your own short text here, e.g., "Editorial Headquarters" or "We Are Here," etc. The text will be displayed above the map and can also act as a link if you enable the Header Link.
- Header link - if active, allows you to hyperlink the Header text. Paste the link in the "Link" field.
- Header icon - if active, it will be displayed before the Header text and act as a link (if you activate the Header Link). You can replace the default icon by selecting another from the list after clicking "Choose Icon."
Content Settings
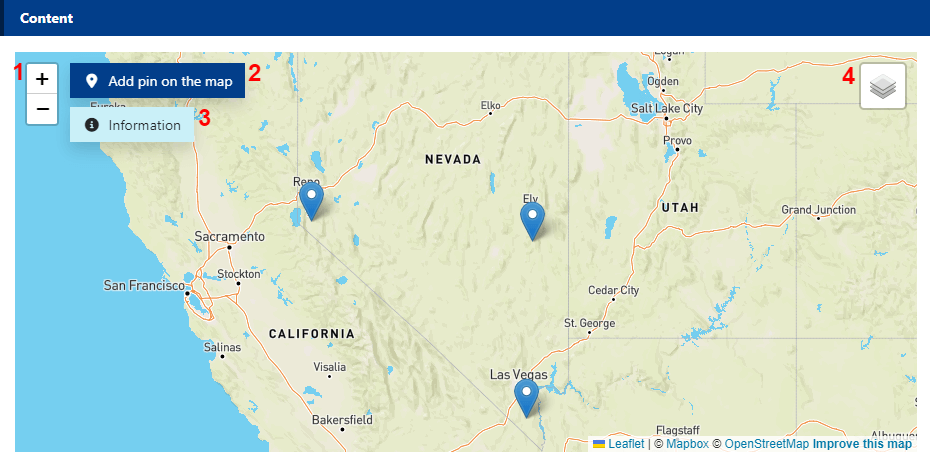
With the settings here, you can customize the appearance of the map and set one or more pins.
- Zoom in/out on the map
- Add pin on the map - clicking reveals a pin; you can change its position by dragging it elsewhere (grab, drag, and drop)
- Information - clicking displays additional details about using the map and its settings
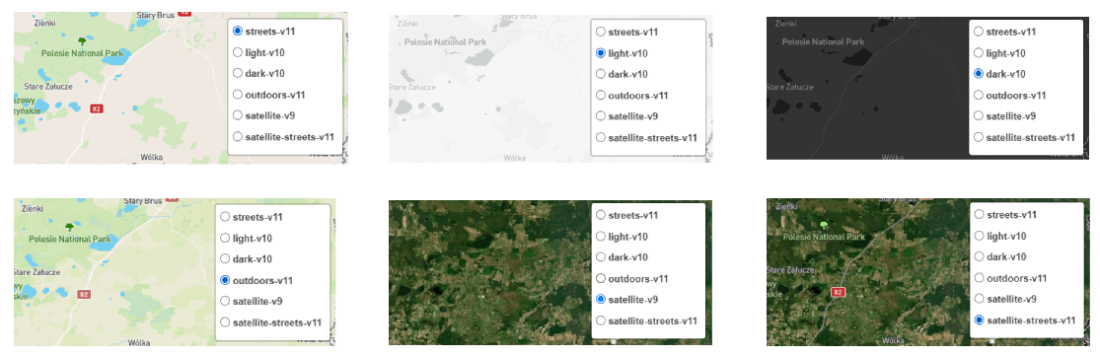
- Map appearance menu - here, you can customize the map's appearance; there are six different styles and layers available:
- Streets
- Light
- Dark
- Outdoors
- Satellite
- Satellite - Streets
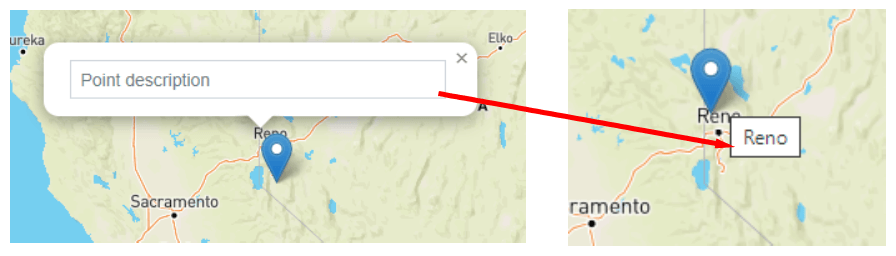
Additionally, if you left-click on a pin, a description field will appear. You can enter, for example, the exact address of the street where the editorial office is located. In that case, the information will be displayed when the cursor hovers over the corresponding pin.
How to properly set up the map for optimal display on the website?
- Grab and drag the map to set its center.
- You can adjust the map zoom using the mouse's middle button (scroll wheel).
- Change the map's appearance or layers using the menu in the top right corner of the map
How to set points (pins) on the map?
- Click "Add pin on the map."
- Left-click on the pin to set the point description.
- Grab, drag, and drop the point to change its position.
- Right-click to remove the point.
Tip: Set the pin slightly below the address or the name of the locality so that it displays correctly above the correct location.
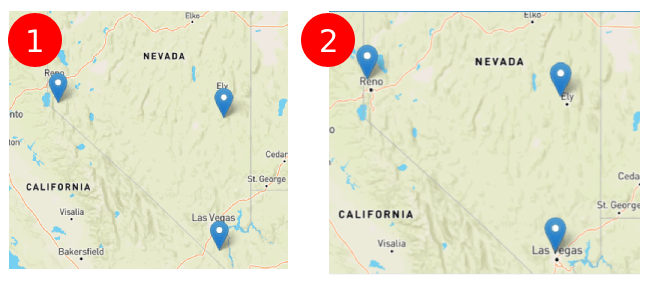
- Set pins this way during Map Widget editing
- to have them published on the website in this way.


